Introduction
A logo is more than just a symbol; it’s the face of a brand. It represents the company’s identity and is often the first thing people notice about a brand. Whether you’re a seasoned designer or a beginner, creating a professional logo involves a blend of creativity, strategic thinking, and technical skills. This guide will walk you through the step-by-step process to design a perfect logo from start to finish, ensuring it is not only visually appealing but also effectively communicates the essence of the brand.
1. Understanding the Brand
1.1. Research the Brand
Before you start sketching, it’s crucial to understand the brand you’re designing for. This involves:
- Identifying the target audience: Who is the brand targeting? Understanding the demographics can help tailor the logo to resonate with the intended audience.
- Defining the brand’s values and personality: Is the brand playful, professional, or innovative? These traits should be reflected in the logo.
- Analyzing competitors: Look at the logos of competitors to ensure your design stands out while fitting within the industry. For inspiration, check out our article on the “Top 9 Olympic Logos of All Time”.
1.2. Brand Messaging
Determine what the brand wants to convey. The logo should align with the brand’s core message. For instance, a tech company might want to emphasize innovation, while an eco-friendly brand may focus on sustainability. To avoid common pitfalls, take a look at our guide on “Common Mistakes in Logo Design”.
2. Conceptualizing the Design
2.1. Brainstorming Ideas
Once you have a solid understanding of the brand, it’s time to brainstorm. Start by jotting down words or concepts that relate to the brand. This can include:
- Keywords: Write down words that describe the brand.
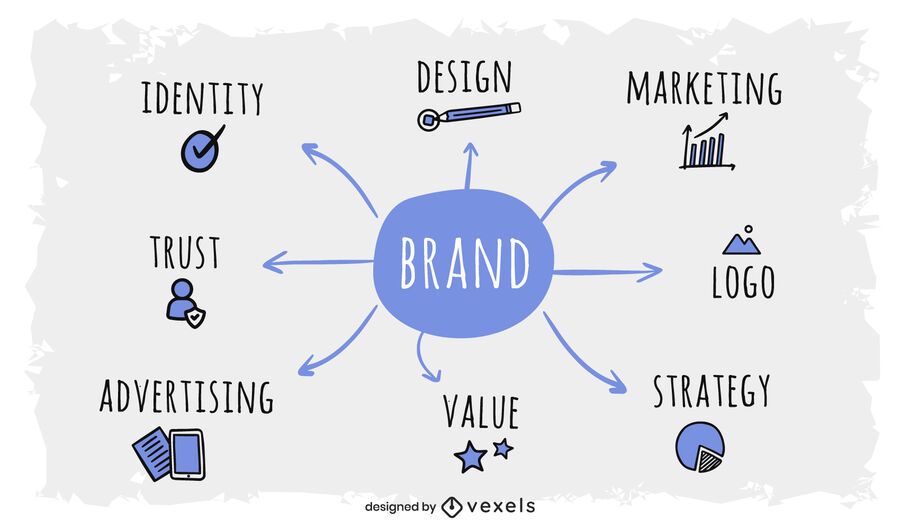
- Mind Mapping: Create a visual map connecting related ideas and concepts.
- Mood Boards: Collect images, colors, and typography that inspire the design.
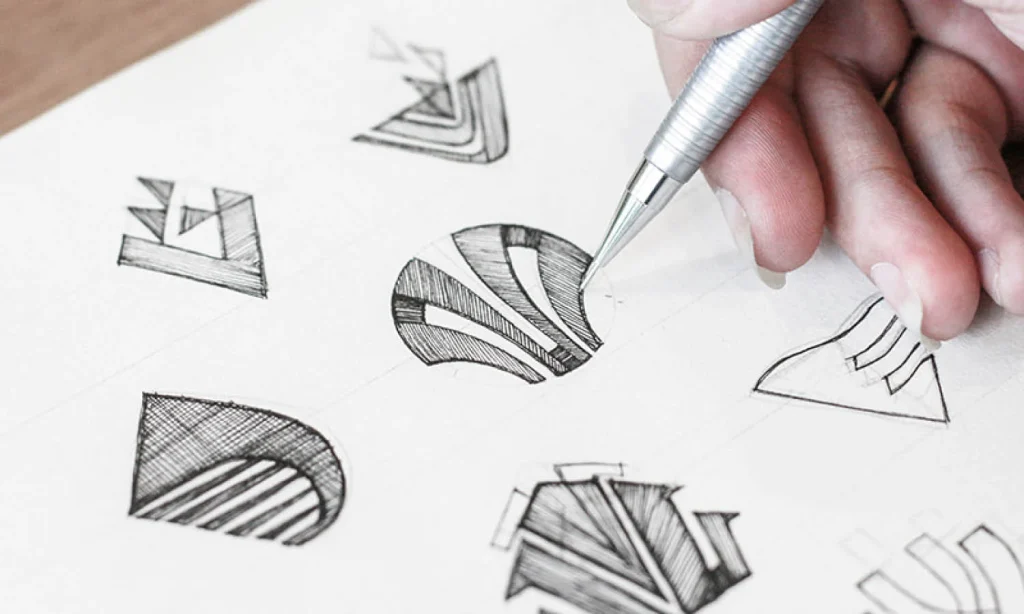
2.2. Sketching Initial Concepts
Grab a pencil and start sketching. At this stage, quantity is more important than quality. Sketch multiple ideas, even if they seem rough. Focus on exploring different shapes, symbols, and layouts. Sketching helps in visualizing ideas quickly and can often lead to unexpected creative breakthroughs.
2.3. Narrowing Down Options
After sketching, review your concepts and select a few that best represent the brand. Consider:
- Simplicity: A simple design is often more memorable. For an example of how simplicity can be powerful, check out the story behind the “KitKat Logo”.
- Scalability: The logo should look good at any size.
- Versatility: It should work in both color and black-and-white formats.
3. Digital Design and Refinement
3.1. Choosing the Right Software
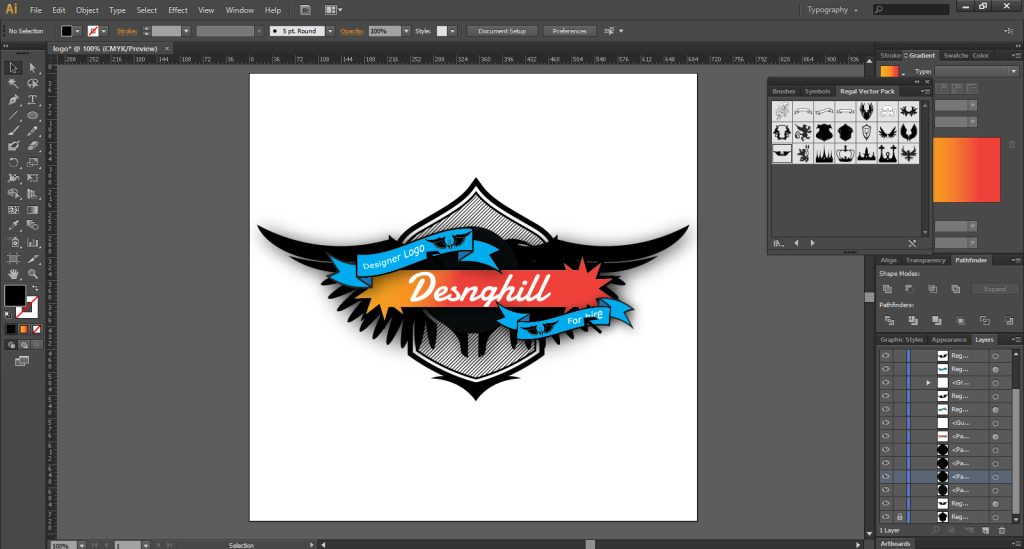
For most professional logo designs, Adobe Illustrator is the go-to tool because of its vector-based capabilities. Vector graphics ensure the logo can be scaled infinitely without losing quality. If you’re exploring different tools, you might find our article on “Logo Design Tools” helpful.
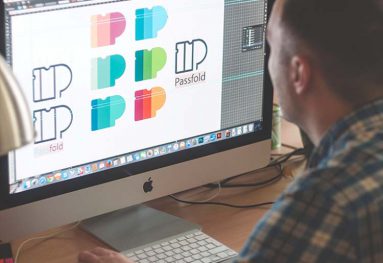
3.2. Creating Digital Drafts
Start by recreating your sketches in Illustrator. Focus on refining the shapes, experimenting with different layouts, and considering various color schemes. Use tools like the Pen Tool for precise curves and lines. At this stage, try to explore different design elements such as:
- Symmetry vs. Asymmetry: Decide whether your logo should be symmetrical for balance or asymmetrical for a more dynamic look.
- Geometric vs. Organic Shapes: Experiment with both to see which aligns better with the brand’s personality.
- Negative Space: Consider using negative space creatively to add depth or hidden meaning to the logo.
3.3. Typography Selection
If your logo includes text, typography is crucial. Choose a font that complements the logo’s style:
- Serif fonts convey tradition and reliability.
- Sans-serif fonts are modern and clean.
- Script fonts can be elegant or casual, depending on the style.
Make sure the typography is legible at all sizes, and consider customizing the type to make the logo more unique.
3.4. Color Theory and Application
Colors evoke emotions and can greatly impact how a brand is perceived. Consider:
- Color Psychology: Different colors convey different emotions (e.g., blue for trust, red for passion).
- Contrast and Complement: Use color contrasts and complementary colors to make the logo stand out.
- Monochrome Version: Ensure the logo works in a single color, as it might need to be used in black-and-white formats.
A good practice is to test your logo on different backgrounds to ensure it remains effective in various scenarios.
4. Presenting the Logo
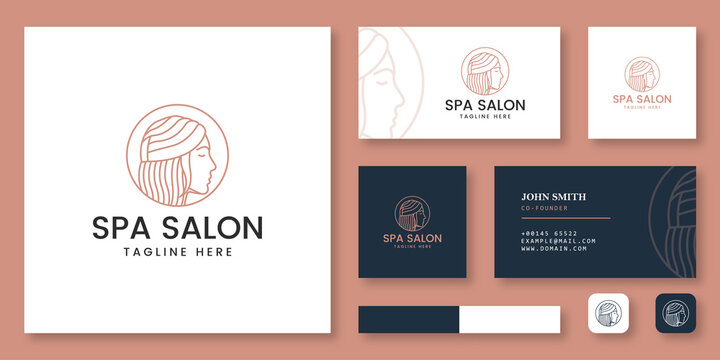
4.1. Mockups
Present the logo in real-world scenarios, such as on business cards, websites, or signage. This helps the client visualize how the logo will be used and adds context to your design. Take a look at the case study on the “DC Logo” to see how mockups can bring a logo to life.
4.2. Gathering Feedback
Show your designs to peers or clients and gather feedback. Be open to suggestions and ready to make refinements. Constructive criticism can be invaluable in improving the final product. Consider creating several variations of the logo and ask for specific feedback on each one. This can help you identify which elements resonate most with the target audience.

4.3. Finalizing the Logo
After incorporating feedback, finalize the design. Ensure all elements are aligned, the color palette is consistent, and the logo is versatile across different mediums. At this stage, you might want to create several versions of the logo for different uses, such as a primary logo, a secondary logo, and a simplified icon.
5. Delivering the Final Files
5.1. File Formats
Deliver the logo in multiple formats to ensure versatility. Common formats include:
- AI: The original vector file for future edits.
- PNG: For web use with a transparent background.
- SVG: A scalable vector format suitable for web use.
- PDF: A print-friendly format.
Providing a variety of file formats ensures that the logo can be used across different platforms without losing quality.
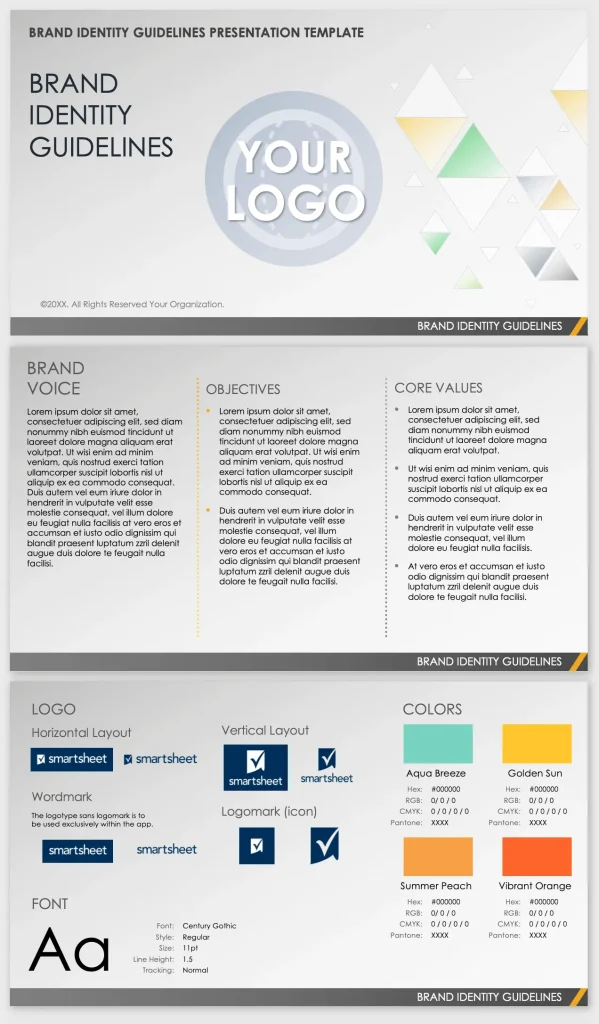
5.2. Logo Guidelines
Provide the client with a set of guidelines that outline how the logo should be used. This can include:
- Color specifications: Hex codes, CMYK, or Pantone colors.
- Typography: The fonts used in the logo.
- Spacing and Sizing: Minimum size and proper spacing around the logo.
- Incorrect Uses: Examples of how not to use the logo.
Creating a detailed logo guideline document ensures that the brand identity remains consistent, regardless of where or how the logo is used.
Conclusion
Designing a professional logo is a challenging yet rewarding process. It requires a deep understanding of the brand, creativity, and technical proficiency. By following this step-by-step guide, you can create a logo that not only looks great but also effectively communicates the brand’s identity. Remember, a successful logo is one that is simple, memorable, and timeless.
When in doubt, refer back to industry standards, seek inspiration from successful logos, and never stop refining your craft. A well-designed logo can elevate a brand, making it instantly recognizable and memorable to its audience.