
As a graphic designer, I know how overwhelming it can be when you’re just starting out. The world of design is vast, and it’s easy to feel lost. But don’t worry—everyone starts somewhere. In this guide, I’m going to share the steps I wish someone had told me when I began my journey. By the end, you’ll have a solid foundation, know where to learn, and have the confidence to start creating designs that don’t suck. Let’s get started!
Table of Contents
- Introduction to Graphic Design
- Understanding Design Principles
- Mastering Design Tools
- Creating Effective Design Projects
- Building a Professional Portfolio
- Continuing Education and Learning
- Engaging with Design Communities
- Recommended Resources
- Conclusion
Introduction to Graphic Design
Graphic design is a powerful form of visual communication that uses images, typography, and color to convey messages and ideas. As a graphic designer, your goal is to create visually appealing and effective designs that communicate your client’s message clearly and creatively.
Why Graphic Design Matters
Graphic design plays a crucial role in various industries, including advertising, branding, publishing, and digital media. It influences how people perceive and interact with information. Good design can enhance brand identity, drive engagement, and make complex information more accessible.
Understanding Design Principles
Before diving into hands-on projects, it’s essential to grasp the fundamental principles of design. These principles serve as the foundation for creating visually appealing and functional designs.
Balance
Balance refers to the distribution of visual elements in a design. It can be symmetrical (evenly distributed) or asymmetrical (unevenly distributed but still balanced). Achieving balance ensures that no part of the design overpowers another, creating a harmonious look.

Example: In a website layout, balance can be achieved by evenly distributing text and images or using asymmetry to create a dynamic feel.
Contrast
Contrast is the difference between elements, such as color, size, and shape. It helps to highlight key elements and make text and visuals stand out. High contrast can create a bold and attention-grabbing effect, while low contrast can convey subtlety.
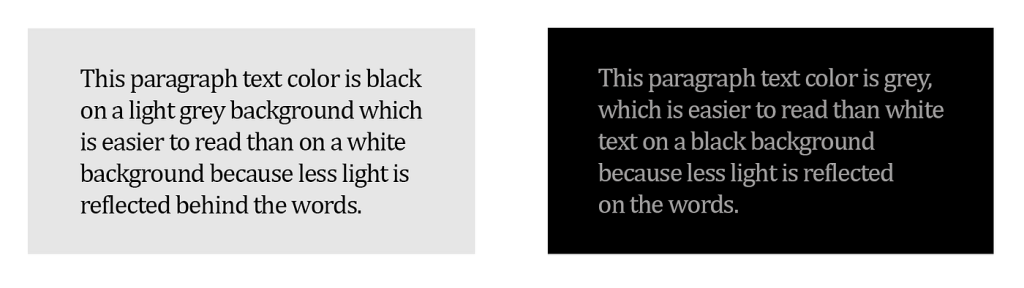
Example: Using dark text on a light background improves readability and draws attention to the content.
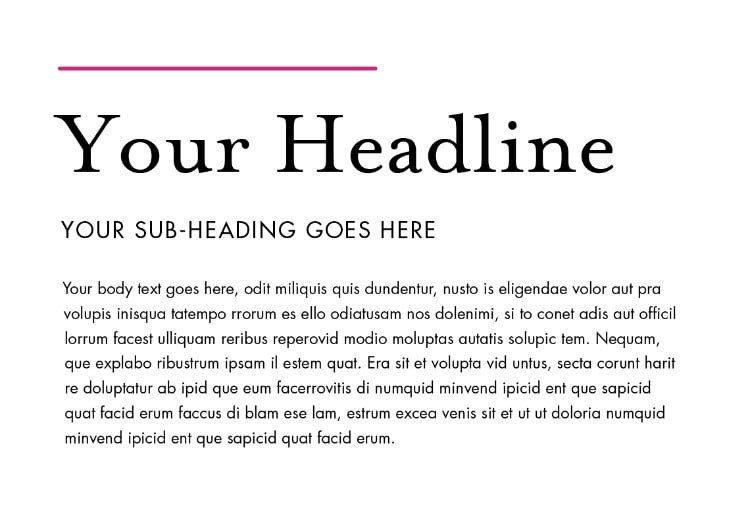
Alignment
Alignment ensures that elements are placed in relation to each other and the overall layout. Proper alignment creates a sense of order and organization, making the design more visually appealing.
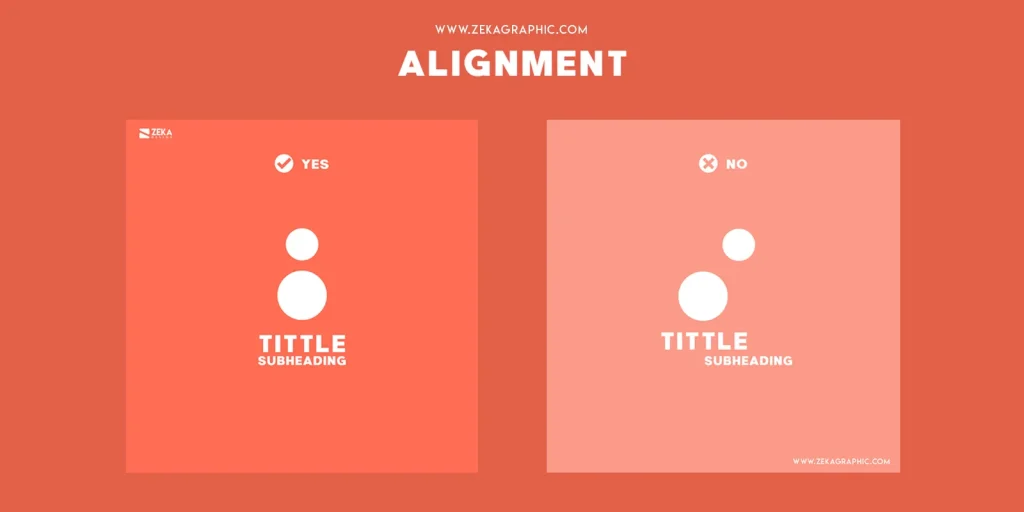
Example: Aligning text and images to a grid can create a clean and structured look.
Repetition
Repetition involves using similar elements throughout the design to create consistency and unity. This can include repeating colors, shapes, or fonts to reinforce the overall design theme.
Example: Using the same font family for headings and body text throughout a brochure creates a cohesive look.
Proximity
Proximity refers to the placement of elements close to each other to indicate their relationship. Grouping related items together helps improve readability and visual organization.
Example: Placing related information, such as contact details, near each other on a business card, helps users quickly find what they need.
Mastering Design Tools
Proficiency in design tools is crucial for executing your ideas effectively. Here’s a detailed guide on some essential tools for graphic designers:
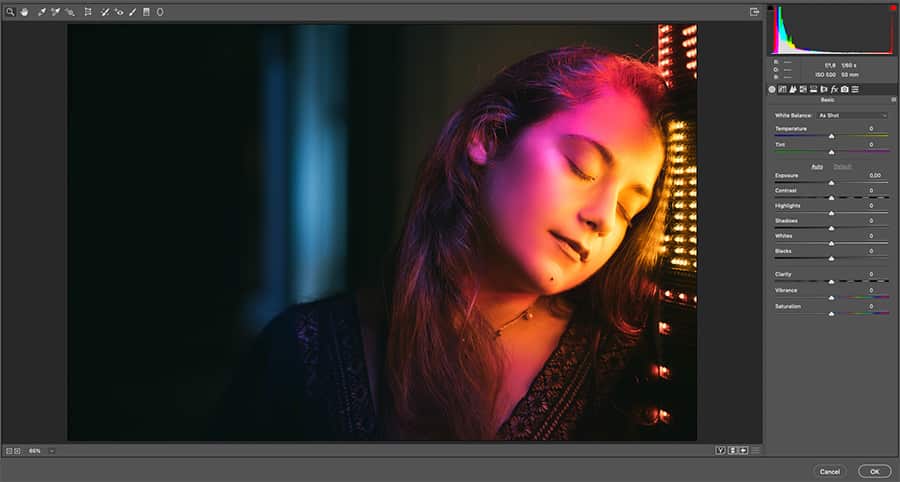
Adobe Photoshop
Adobe Photoshop is the industry standard for photo editing and graphic design. It’s used for creating and manipulating images, designing layouts, and adding special effects.
Key Features:
- Layers: Allows for non-destructive editing and easy adjustments.
- Selection Tools: Enable precise editing and masking.
- Filters and Effects: Add creative enhancements to images.
Learning Resources:
Adobe Illustrator
Adobe Illustrator is the go-to tool for vector graphics. It’s ideal for creating logos, illustrations, and icons that need to be scaled without losing quality.
Key Features:
- Vector Paths: Create scalable designs using anchor points and paths.
- Pen Tool: Draw precise shapes and lines.
- Artboards: Work on multiple designs simultaneously.
Learning Resources:
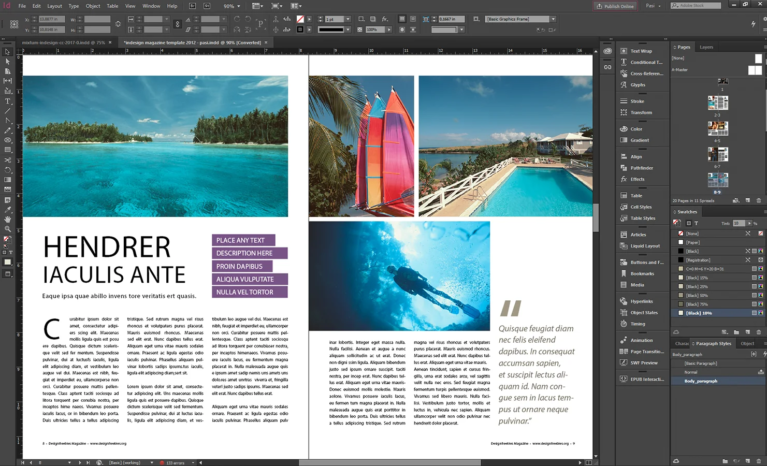
Adobe InDesign
Adobe InDesign is used for layout design in print and digital media. It’s essential for creating brochures, magazines, and eBooks.
Key Features:
- Master Pages: Create consistent layouts across multiple pages.
- Text Formatting: Advanced typography and text handling.
- Interactive Elements: Add buttons and multimedia to digital documents.
Learning Resources:
Alternative Tools
For beginners or those looking for cost-effective options, consider these tools:
- Canva: User-friendly for creating social media graphics, posters, and presentations.
- Figma: Excellent for UI/UX design and collaborative projects.
Creating Effective Design Projects
Applying your skills to real-world projects helps solidify your learning and build your portfolio. Here’s a step-by-step approach to tackling common design projects:
Designing a Logo
Creating a logo involves several stages, from research to final execution:

1. Research and Inspiration
- Study Competitors: Analyze logos in your industry to understand trends and standards.
- Gather Inspiration: Look for design inspiration on platforms like Dribbble and Behance.
2. Conceptualize and Sketch
- Brainstorm Ideas: Sketch multiple concepts and variations.
- Select the Best Concepts: Choose the strongest ideas to refine further.
3. Digitize the Logo
- Use Adobe Illustrator: Create a vector version of your chosen design.
- Experiment with Colors: Test different color schemes to find the most effective combination.
4. Refine and Finalize
- Seek Feedback: Get opinions from peers or mentors.
- Make Adjustments: Refine the design based on feedback.
Learning Resource:
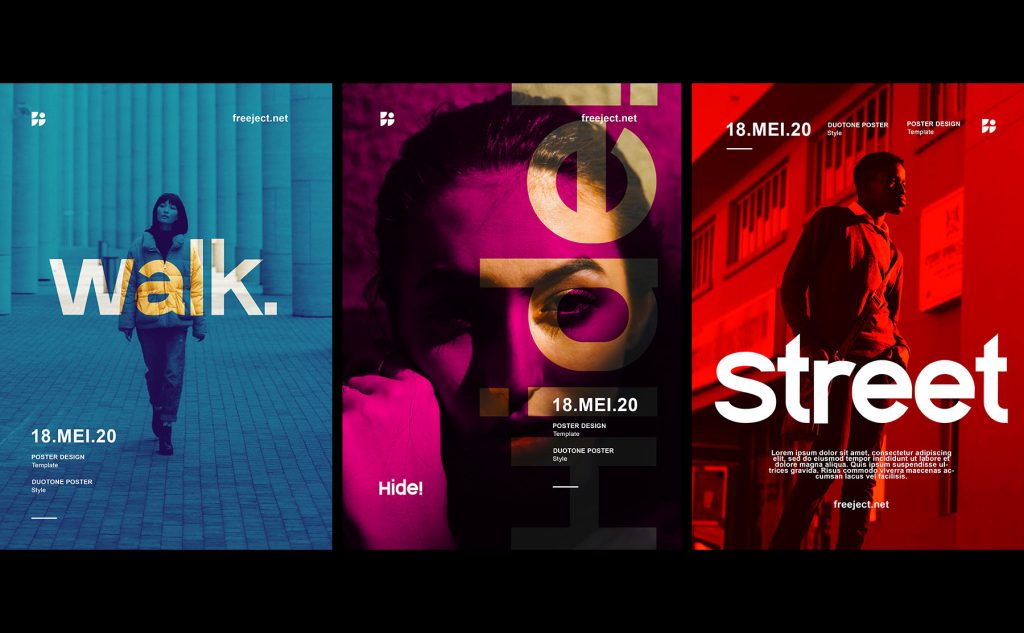
Designing a Poster
Designing a poster involves planning, creating, and reviewing:
1. Define the Objective
- Identify Purpose: Determine the message and target audience for the poster.
- Set Goals: Define what you want the poster to achieve.
2. Setup and Layout
- Choose Dimensions: Select the appropriate size for your poster.
- Create a Layout: Arrange text, images, and other elements to ensure clarity and impact.
3. Design and Refine
- Use Color and Typography: Choose colors and fonts that align with the message and target audience.
- Review and Edit: Check for any errors and ensure the design meets the objective.
Learning Resource:
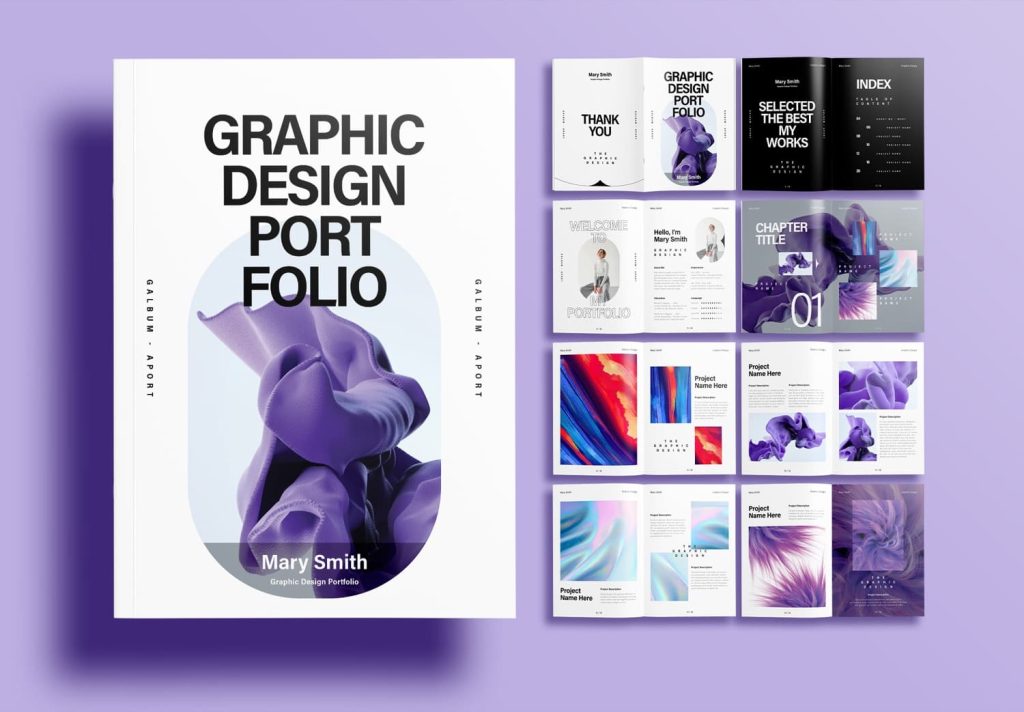
Building a Professional Portfolio
A strong portfolio is essential for showcasing your skills and attracting clients or employers. Here’s how to build and curate an impressive portfolio:
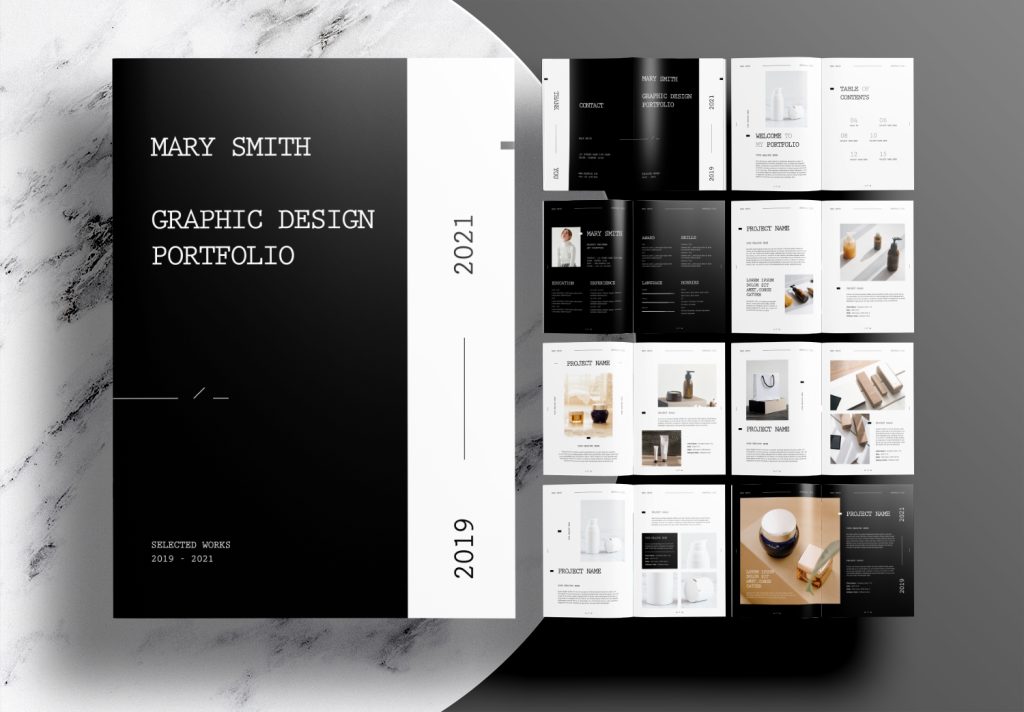
1. Select Your Best Work
- Showcase Varied Projects: Include a range of work that demonstrates your versatility.
- Highlight Strengths: Focus on projects that showcase your best skills.
2. Create a Consistent Layout
- Use a Template: Create a uniform format for displaying your work.
- Include Project Details: Provide context and details for each project, such as objectives and design process.

3. Display Your Design Process
- Show Sketches and Iterations: Include preliminary sketches and drafts to illustrate your process.
- Explain Decisions: Describe why certain design choices were made.
4. Publish Your Portfolio
- Use Online Platforms: Platforms like Behance and Adobe Portfolio are excellent for reaching a broader audience.
- Create a Personal Website: Consider building your own website to showcase your portfolio and provide additional information about yourself.
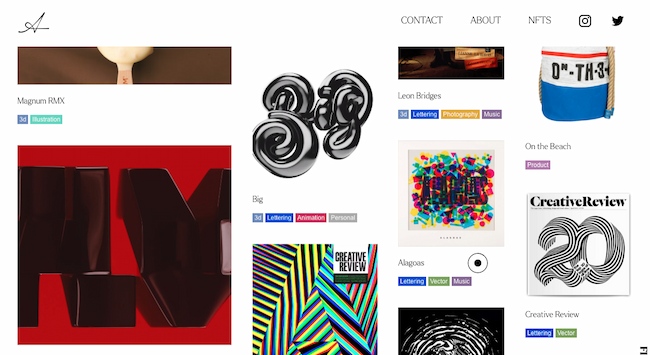
Portfolio Inspiration:
Continuing Education and Learning
Graphic design is a dynamic field, and staying updated with the latest trends and techniques is crucial for ongoing growth. Here’s how to continue learning:
1. Take Online Courses
- Skillshare: Offers a wide range of graphic design courses from industry professionals.
- Coursera: Provides courses and specializations from universities and institutions.
Recommended Courses:
2. Attend Workshops and Webinars
- Local Design Meetups: Join local design communities and attend events.
- Online Webinars: Participate in webinars hosted by design experts.
3. Read Design Books and Blogs
- Books: Expand your knowledge with foundational and advanced design books.
- Blogs: Follow design blogs for insights into current trends and techniques.
Recommended Books:
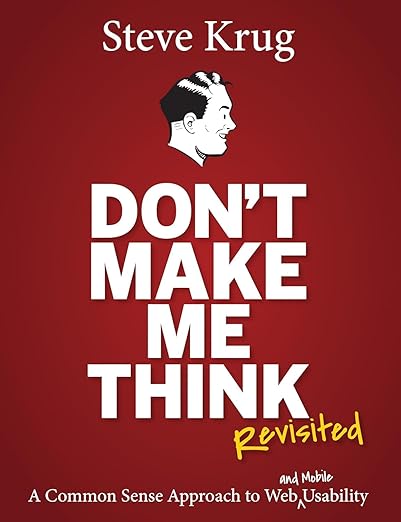

- “Don’t Make Me Think” by Steve Krug
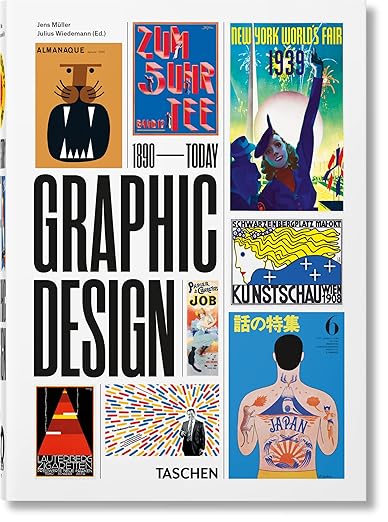
- The History of Graphic Design
- “Steal Like an Artist” by Austin Kleon
Design Blogs:
Engaging with Design Communities
Connecting with other designers can provide valuable insights, feedback, and support. Here’s how to engage with design communities:
1. Join Online Forums and Groups
- Dribbble: Share your work and interact with other designers.
- Designers on Slack: A Slack community for design discussions and networking.
2. Participate in Design Challenges
- Daily UI Challenge: Improve your skills by participating in daily design challenges.
- 99designs Contests: Enter design contests to gain experience and exposure.
3. Network with Industry Professionals
- Attend Conferences: Join design conferences and meetups to connect with industry leaders.
- Follow Influencers: Stay updated with influential designers and studios on social media.
Recommended Resources
To further enhance your graphic design journey, explore these valuable resources:
Podcasts
- Design Matters with Debbie Millman: Offers in-depth interviews with designers and creative professionals.
- The Honest Designers Show: Provides practical advice and insights from experienced designers.
- Creative Pep Talk by Andy J. Miller: Inspires and motivates with creative insights and advice.
YouTube Channels

- The Futur: Features educational content on design and business.
- Chris Do: Offers practical tips and design strategies.
- Adobe Creative Cloud: Provides tutorials and updates on Adobe products.
Movies and Documentaries

- Helvetica (2007): Explores the impact of typography on design and culture.
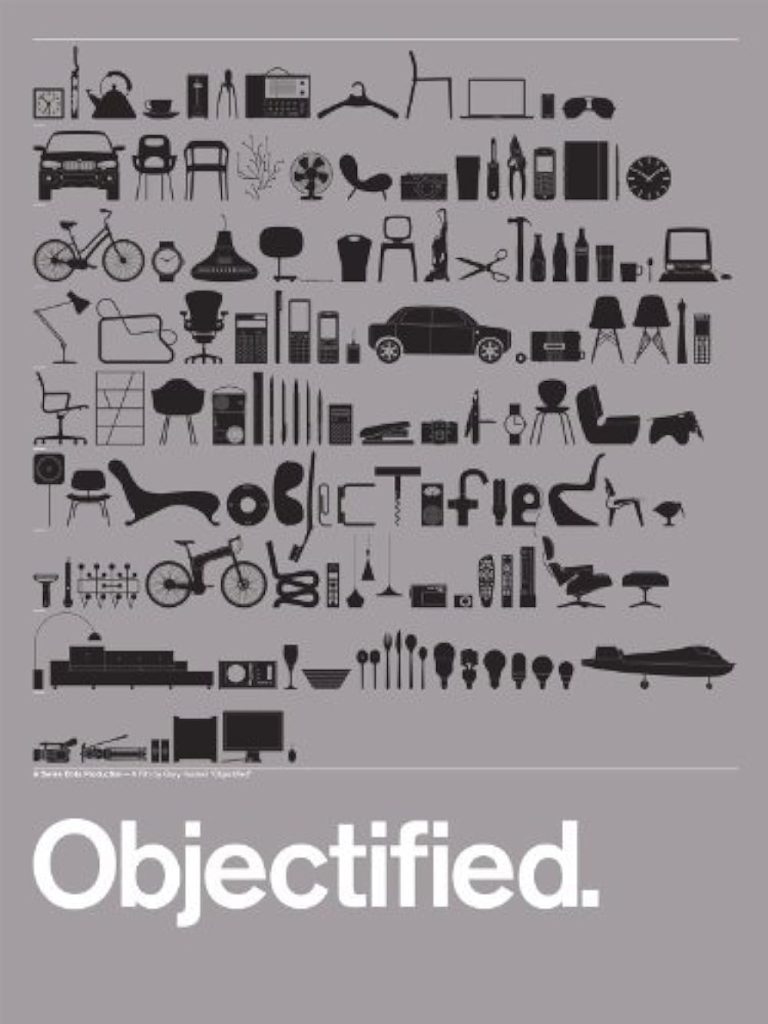
- Objectified (2009): Showcases the creativity behind everyday objects.
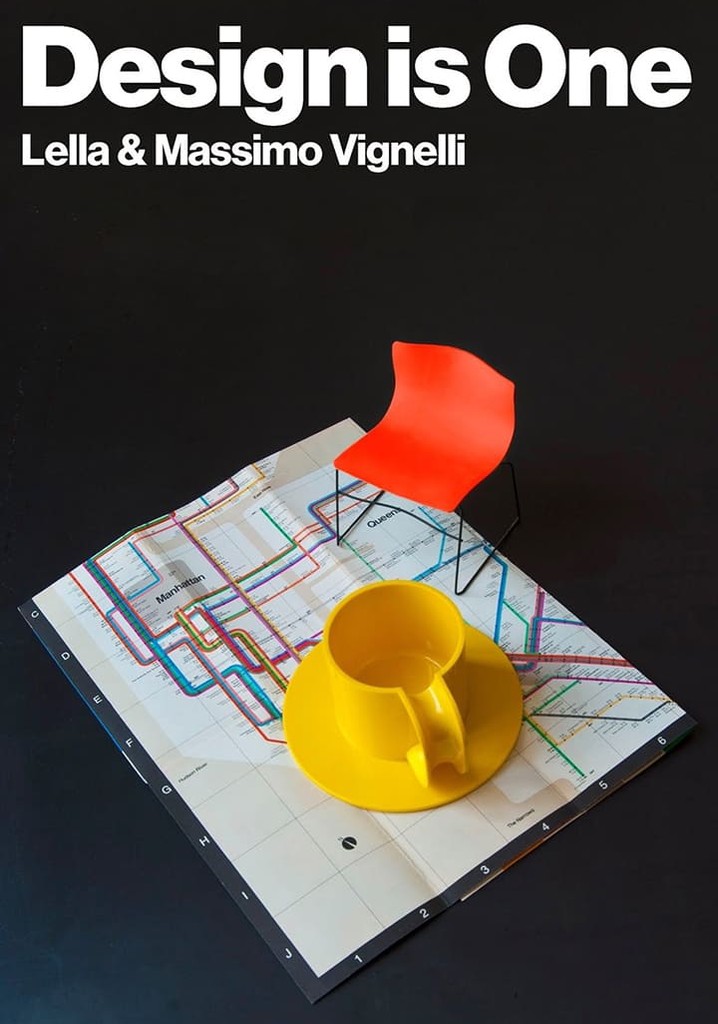
- Design is One: Lella and Massimo Vignelli (2012): Chronicles the work and influence of the Vignellis in the design world.
Conclusion
Improving at graphic design requires a blend of learning, practice, and continuous growth. By following the steps outlined in this guide, utilizing recommended resources, and actively engaging with the design community, you’ll be well on your way to becoming a more skilled and confident graphic designer. Remember, design is both an art and a science—embrace the learning process, stay curious, and keep pushing the boundaries of your creativity.